OPTIGA Trust X
Introduction
OPTIGA Trust X is a turnkey security solution for embedded systems based on a secure microcontroller. It can be deployed for smart homes, industrial control and automation systems, consumer electronics and medical devices. Through a unique elliptic curve keypair and a corresponding X.509 certificate on each device, easy integration into existing PKI infrastructure is enabled by the OPTIGA Trust X.
Key Features and Benefits
The OPTIGA Trust X comes with some key feature and benefits:
- High-end security controller
- Turnkey solution
- Network node protection such as TLS or DTLS
- Compliant with the USB Type-C™ Authentication standard
- I2C interface
- One-way authentication using ECDSA
- Cryptographic support: ECC256, AES128 (via on-chip DTLS client), SHA-256, TRNG, DRNG
- Up to 10 KB user memory
- Mutual authentication using DTLS client (IETF standard RFC 6347)
- Secure communication using DTLS
- Standard and extended temperature ranges
- PG-USON-10-2 package (3 x 3 mm)
- Full system integration support
- Lifetime for Industrial Automation and Infrastructure is 20 years and 15 years for other Application Profiles
- Cryptographic Tool Box based on ECC NIST P256, P384 and SHA256 (sign, verify, key generation, ECDH, session key derivation)
- Common Criteria Certified EAL6+ (high) hardware
Use Cases
The OPTIGA Trust X has several use cases, including:
- Network node protection such as TLS or DTLS
- Protect the Authenticity, Integrity and Confidentiality of your product, data and IP
- Mutual Authentication
- Secure Communication
- Datastore Protection
- Lifecycle Management
- Platform Integrity Protection
- Secure Updates \cite{AppNote}
Installation
In this section we are going the the step that are needed to install the Optiga Trust X.
Step 1
The OPTIGA Trust X offers on their GitHub page, a repository that you can get via GIT and which contains the code you need to start the OPTIGA Trust X functions. The repository can be found on https://github.com/Infineon/getstarted-optiga-trustx.git.
Step 2
For the project we use the DAVE IDE from Infineon, because for an OPTIGA project we need DAVE specific files and folders that help us to use the functions of the OPTIGA Trust X security chip. The DAVE software can be downloaded with a free Infineon account. After downloading you can install DAVE by unpacking the downloaded file DAVE3.1.10.zip. In the Eclipse Folder there should be a DAVE-3.1.10.exe file. By double clicking it DAVE should start. After that choose a workspace as shown in the figure below. Now the DAVE development environment should be seen.
Step 3
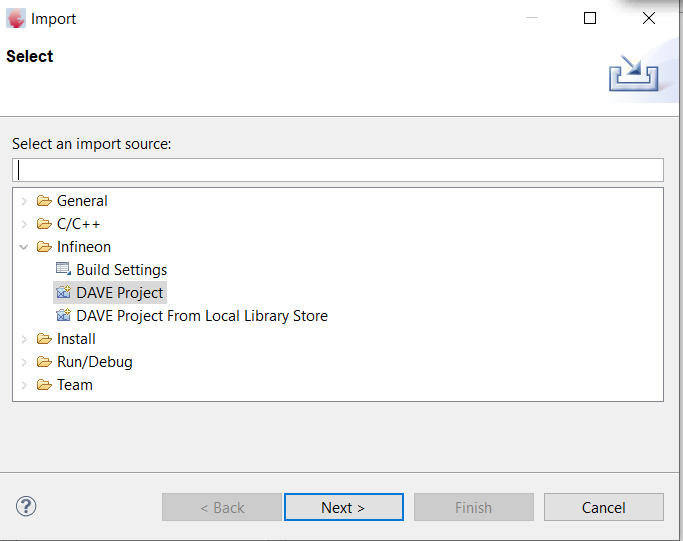
Having DAVE open, open the following window File -> Import.... Choose then the folder Infineon and the file DAVE Project as shown in the picture.
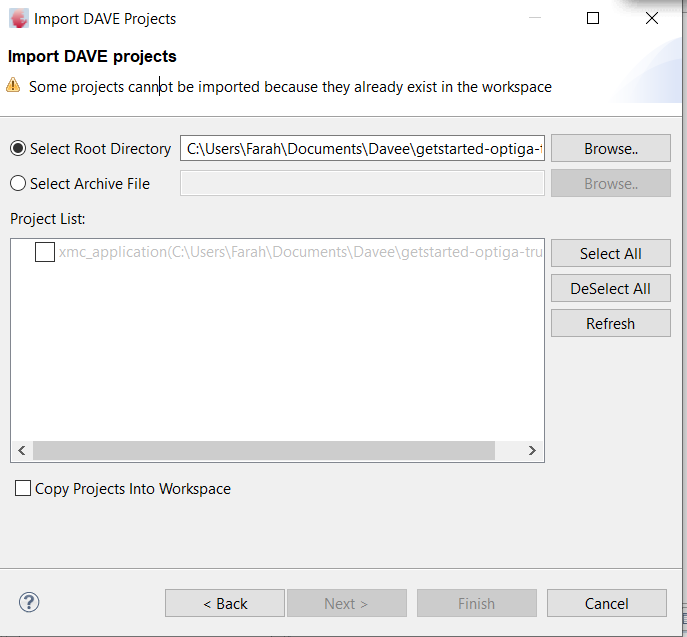
Next you should choose as root directory the repository you got from git and select all in the Project List. At the end press finish.
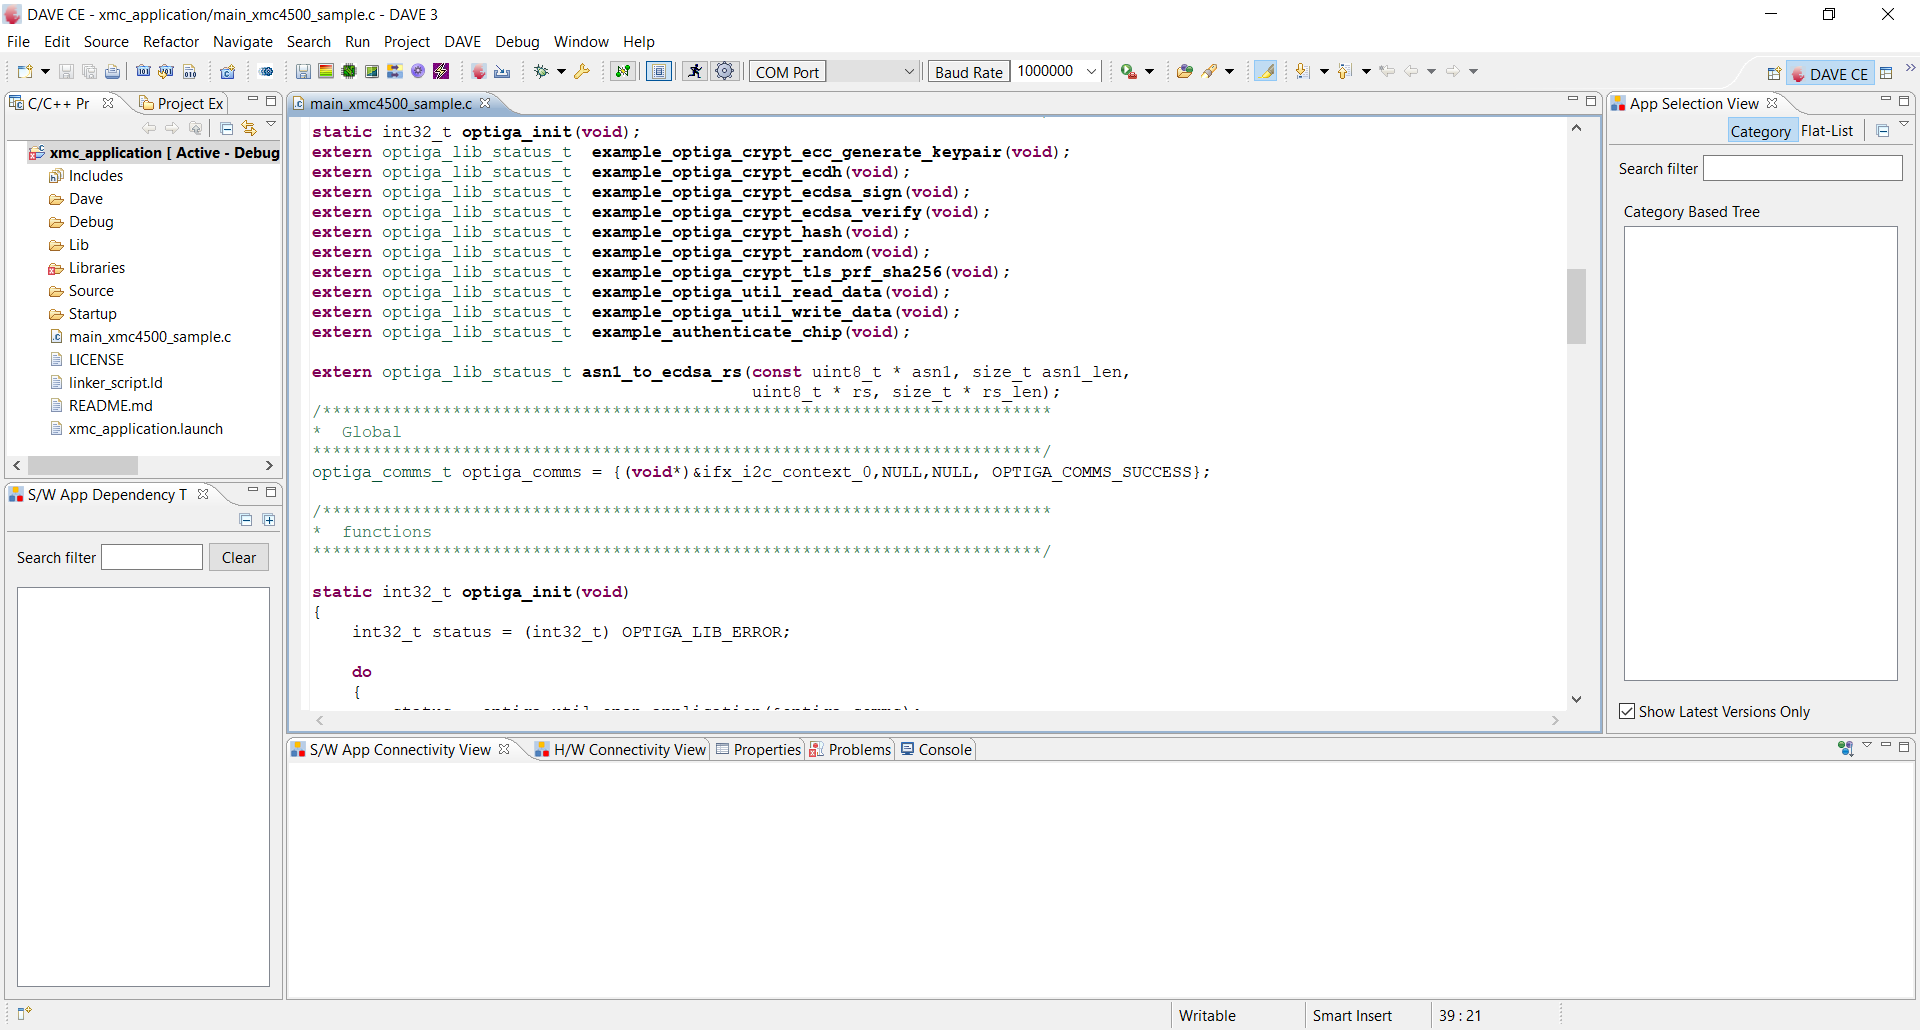
The final project should look like the picture below.
Step 4
Press Project -> Build Active Project menu item to build the project. In the picture you can see how the console output of building the project.
Step 5
The OPTIGA Trust X has a build-in debugger that can be accessed via a Micro USB port on the XMC Microcontroller.
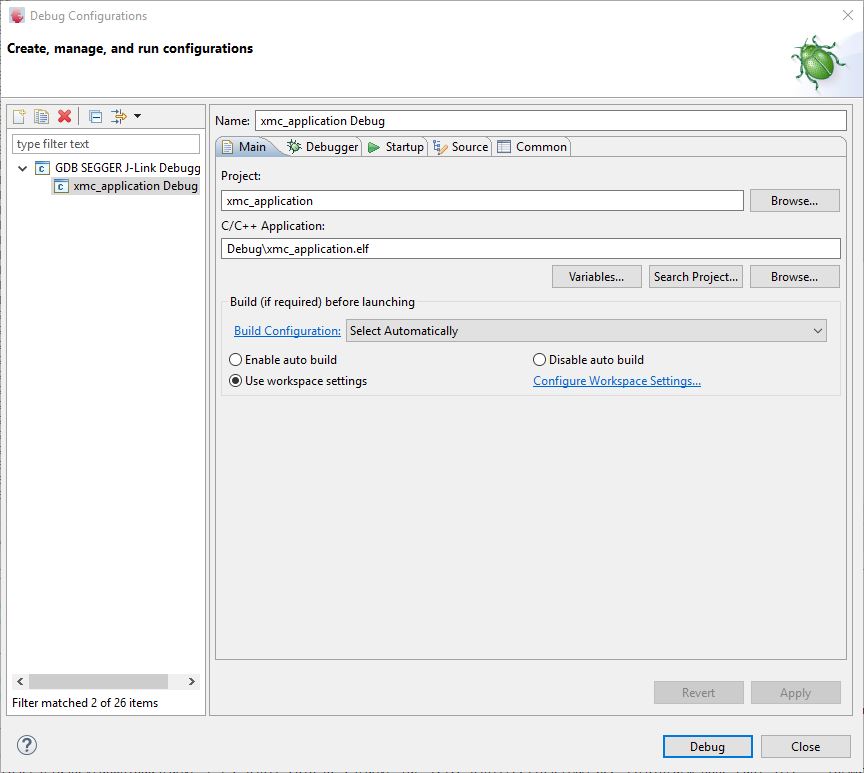
To debug or flash the microcontroller, you have to create the debug configuration via the DAVE. To do this, press the green bug symbol in the instrument panel. Then a new GDB SEGGER J-Link debugging should be created. After that it should look like the picture below. You do not have to change something in the configuration just click Debug. The board should be connected to the PC while debugging.
Used Hardware
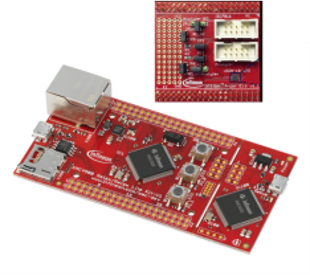
The used hardware was the Optiga_Trust_X_evaluation_kit.
