OpenWRT: Installation
Summary
This is a tutorial on how to install OpenWRT. For this example the Router Zyxel Armor Z2 AC 2600 MU-MIMO dualband wireless router is used.
This tutorial is based on First-time install from OpenWRT
Requirements
- Router supporting OpenWRT (visit OpenWRT)
Installation
Find the openWRT installation image
- Filter for your router on the official openWRT page
- Go to "Device Page" or "Device Techdata"
- Check "Firmware OpenWrt Install URL"
- If you can not find “factory.bin” firmware file (true for 70% of all supported devices), a device-specific custom installation procedure is required (Assuming your device does not already have an older LEDE or OpenWrt version installed). You can find custom installation instructions at the following locations
- In the case of the Zyxel Router we only have "kernel.bin" and "rootfs.bin" file.
- So we have to proceed with a custom installation
If you have a factory.bin please follow these instructions: OpenWRT factory install
Custom installation for the Zyxel Router
Following the custom installation steps: [1]
- OEM easy installation
- Telnet (or ssh, if you allowed ssh on the router webpage) to the router
login:rootpassword:1234(or the set password)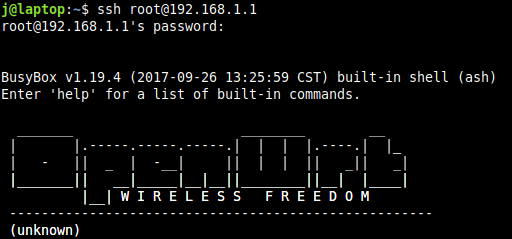
- Interestingly OpenWRT is already is already installed by default, but limited and modified by Zyxel
- copy the kernel.bin and rootfs.bin to the /tmp/ folder
scp j@192.168.1.67:/home/j/Desktop/openwrt-18.06.4-ipq806x-zyxel_nbg6817-squashfs-mmcblk0p4-kernel.bin /tmp/scp j@192.168.1.67:/home/j/Desktop/openwrt-18.06.4-ipq806x-zyxel_nbg6817-squashfs-mmcblk0p5-rootfs.bin /tmp/
- copy to local folders:
printf "\xff" >/dev/mtdblock6cat /tmp/openwrt-ipq806x-NBG6817-squashfs-mmcblk0p4-kernel.bin >/dev/mmcblk0p4cat /tmp/openwrt-ipq806x-NBG6817-squashfs-mmcblk0p5-rootfs.bin >/dev/mmcblk0p5syncreboot -f

- Update openWRT
- Browse to http://192.168.1.1/cgi-bin/luci/mini/system/upgrade/ LuCI Upgrade URL
- Upload image file for sysupgrade to LuCI
- Wait for reboot
Enjoy

Remote capture with tcpdump and Wireshark
- Installing tcpdump on the OpenWRT system
- Allow SSH
- Go to "System" -> "Administration" and allow SSH
- Connect to SSH via terminal
ssh root@192.168.1.1
- Update system
opkg update
- Install tcpdump
opkg install tcpdump
Pipe tcpdump to remote Wireshark session Wireshark Wiki:
Remote Capture
In bash syntax, remote capture is possible with the following command:
wireshark -k -i <(ssh -l root remote-host "dumpcap -P -w - -f 'not tcp port 22'")
The main problem is that you have to exclude the traffic generated by the ssh session from capturing. Several patches are available to do this, but excluding port 22 is probably the easiest solution for now.
The second problem is that ssh cannot ask for a password on stdin. You should either set up ssh-agent, so that you don't need a password, or you should configure x-askpass to open a window for the password.
This can be worked around by combining SSH with a FIFO.
mkfifo /tmp/sharkfinwireshark -k -i /tmp/sharkfinssh user@remote-host "dumpcap -P -w - -f 'not tcp port 22'" > /tmp/sharkfin
for openWRT this would look like:
mkfifo /tmp/sharkfinwireshark -k -i /tmp/sharkfinssh root@192.168.1.1 "tcpdump -i any -w - -f 'not tcp port 22'" > /tmp/sharkfin
As soon as Wireshark starts "listening" on the pipe, SSH will prompt for the password and allow you to continue. Wireshark can also be switched out for tshark and tcpdump can be used in place of dumpcap with slight variations on the above commands.
Used Hardware
Zyxel Armor Z2 AC 2600 MU-MIMO dualband wireless router