Proxmark3 RDV4
Summary
The Proxmark is an RFID swiss-army tool, allowing for both high and low-level interactions with the vast majority of RFID/NFC tags and systems worldwide (proxmark.com).
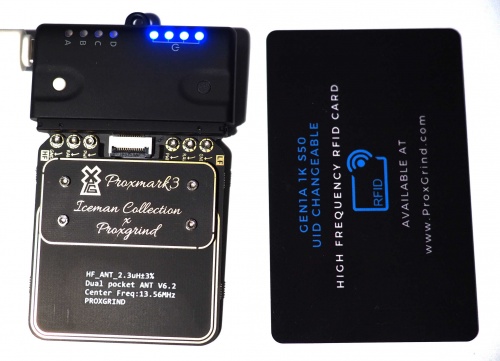
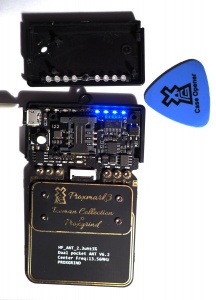
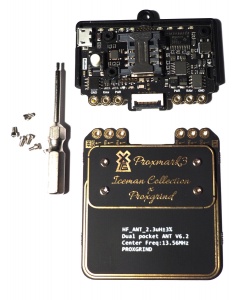
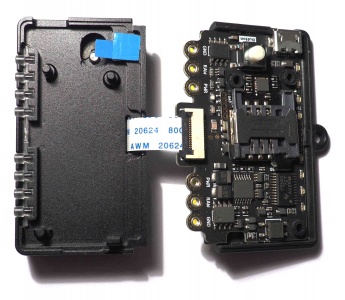
The Proxmark3 Dev Kit 4 (RDV4) is more compact and portable than the older versions and brings various improvements to the open-source design. Antennas are highly customizable and there is a new multifunction multiplexing interface to support additional components such as external battery, external active high powered antenna, Bluetooth interfaces and SIM/Smart card reader (hackerwarehouse.com).
This write-up concentrates on the improvements of the RDV4 over the RDV2 and will not cover the basic operations. For more, please visit Proxmark3: Useful commands or Proxmark3: FH-Campus Card NFC Security Valuation
Requirements
- Proxmark3 RDV4
To use the Bluetooth module & for new features of the RDV4 use the new new repository
Setting-up & compiling are explained in the original documentation
For a quick introduction to the default commands please visit: Proxmark3: Useful commands
Bluetooth Module
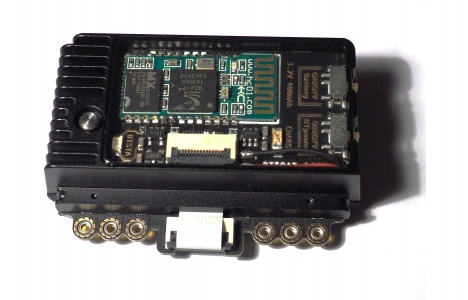
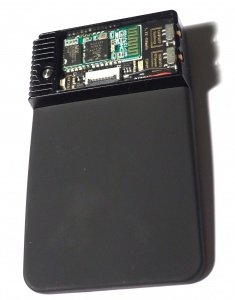
With the Blue-Shark Module it is now possible to wirelessly communicate with the Proxmark RDV4!
Installation
To enable this feature you need to install the newest RfidResearchGroup/proxmark3 repo and enable the Bluetooth setting in the makefile: the instructions are based on Blue Shark Installation
Linux installation
- Preperation
- Update system:
sudo apt-get update
- Install requirements:
sudo apt-get install --no-install-recommends git ca-certificates build-essential pkg-config libreadline-dev gcc-arm-none-eabi libnewlib-dev qtbase5-dev
- On Linux you have to make shure you remove of disable the ModemManager (this is usally pre-installed to interact with (2G,3G,4G) devices.
- Remove ModemManager
sudo apt remove modemmanager
- Download repostiory:
- cd into repo
cd proxmark3
- Or update to the newest version:
git pull- Compile source code
- Enable Bluetooth module
cp Makefile.platform.sample Makefile.platformnano Makefile.platform- And uncomment the line
#PLATFORM_EXTRAS=BTADDONby removing the#& save changes by pressingctrl+x
- Compile source code
make clean; make -j8sudo make install
- Add access rights
make accessrights- Now log off and log on again.
- Connect the Proxmark3 to the computer
- Flash the firmware
./pm3-flash-bootrom./pm3-flash-all- Connect wirelessly to the Proxmark
- Turn on the Bluetooth module (both switches to on)
- Find MAC address
sudo hcitool scan
Scanning ...
 aa:bb:cc:dd:ee:ff PM3_RDV4.0
- Bind your BT add-on MAC address to a serial port
sudo rfcomm bind rfcomm0 aa:bb:cc:dd:ee:ff
- If connecting the first time:
bluetoothctl
[bluetooth]# pairable on
[bluetooth]# scan on
Discovery started
...
[CHG] Device aa:bb:cc:dd:ee:ff Name: PM3_RDV4.0
[bluetooth]# trust aa:bb:cc:dd:ee:ff
[bluetooth]# pair aa:bb:cc:dd:ee:ff
[agent] Enter PIN code: 1234
[bluetooth]# quit
- Else, open the Proxmark client
proxmark3 /dev/rfcomm0- Now the Proxmark LED should stop blinking and turn solid blue. THe Proxmark client should show the default interface.
Smart Card
Antennas
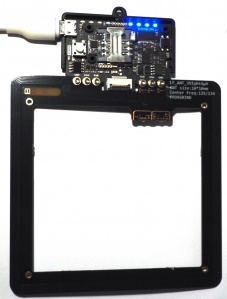
The Proxmark3 RDV4 optionally ships with high-frequency (hf) and low-frequency (lf) antenna kits. They include a medium and long-range antenna. The following will show the differences between them.
High-Frequecy Antenna Kit
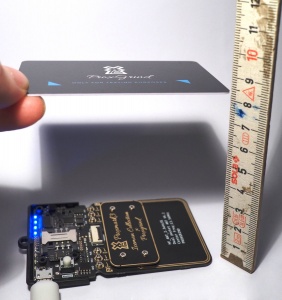
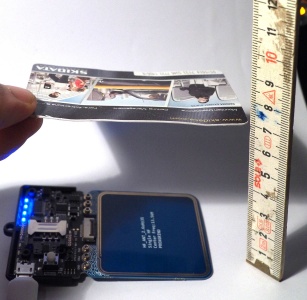
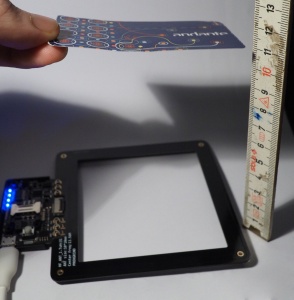
The hf-antenna kit comes with two antennas that are advertised as medium- and long-range antennas. The store lab401 says the range of the default antenna is about 40-85mm, medium-range antenna about 90mm, and the long-range has a reach of 100-120mm. A small test of mine concludes that this statement is only partially true.
I tested the range of 4 different cards:
- Card 1: HF-Card shipped with the RDV4: NXP MIFARE CLASSIC 1k Gen1A S50
- Card 2: Student-Card: NXP MIFARE DESFire 4k
- Card 3: Portugal, Proto MetroCard: Ultralight EV1 48bytes (MF0UL1101)
- Card 4: SkiData Card: EM-Marin SA (Skidata); EM4233
(!)  denotes that the readings were inconsistent:
     The card only got recognized from time to time
(!!) denotes that the readings were very inconsistent:
     Only if lucky the card got recognized
/    denotes that the card got not read at all
| Card | Default-Antenna | Medium-Range Antenna | Long-Range Antenna |
|---|---|---|---|
| Shipped HF-Card | 8 cm | (!!) 0 cm | (!!) 2 cm |
| Student-Card | 5 cm | (!) 0 cm | (!) 7 cm |
| Metro-Card | 8 cm | / | (!) 11 cm |
| SkiData-Card | 7 cm | 7 cm | 11 cm |
The results show that the antenna reach depends heavily on the card trying to read. The most consistent results came from the default-antenna that ships with the RDV4. As shown, the optional antennas did cope with the NXP Mifare cards very poorly but show improvements for the SkiData card.
Low-Frequency Antenna Kit
Sadly I do not have any lf-cards on hand and could not test the range of the given antennas.
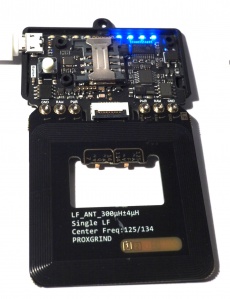
The lf-antenna kit comes with two antennas that are advertised as medium- and long-range antennas. The store lab401 says the range of the default antenna is about 66 - 72mm, medium-range antenna about 90mm, and the long-range has a reach of 110 - 133mm. But as shown above, for the hf-antenna this depends heavily on the lf-card itself.
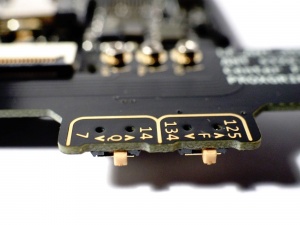
The optional antennas come with 2 switches: (source: lab401)
- Q-Switch
- The Q-Switch has two settings: 14 (Extended Range) and 7 (Extended Accuracy).
- Q-Switch setting of 14 will give up to 30% further read range (on lf search / lf hid read etc commands).
- Q-Switch setting of 7 will give better writing performance on T55XX and EM410XX tags.
- Frequency Switch
- The frequency switch allows for tuning to specific tag types: 125KHz or 134KHz.
Used Hardware
Proxmark3 RDV4.0 BT & Battery Addon Blue Shark
