Raspberry Pi: HifiBerry OS installation
Summary
This documentation is a step by step walk through of the installation of HifiBerry OS in the Raspberry Pi. As well as an explanation of the menu of the HifiBerry OS.
Requirements
Description
Imaging the Operating System
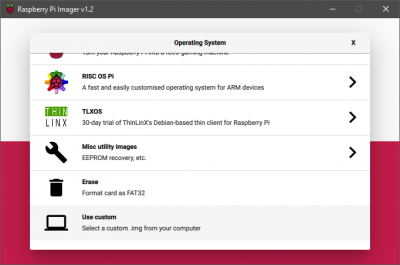
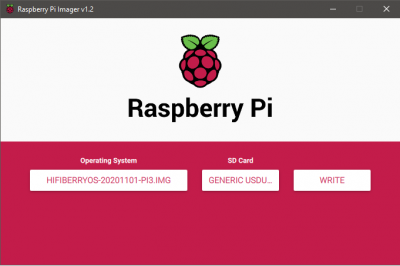
The imaging process is the same as the standard raspberry pi operating system. After downloading the operating system image from the manufacturer website, open the Raspberry Pi Imager and choose to image a custom operating system. Then you have to select the image file from your file structure and the external storage that is prefered to use to flash operating system to. The flashing process will take some minutes to finish.
Configuration
At the first startup there will be an initial setup process to configure langauge and keyboard settings. This can be performed directly on the Raspberry Pi or via the browser if the IP is known.
After doing the initial setup I suggest to give the Device a static IP address for the LAN and the WiFi connection. The network setting can be found in the network tab of the Webgui.


