TP-Link-TL-WN821N V6.0: How to Install and Set Up 300Mbps-Wireless N USB Adapter
Summary
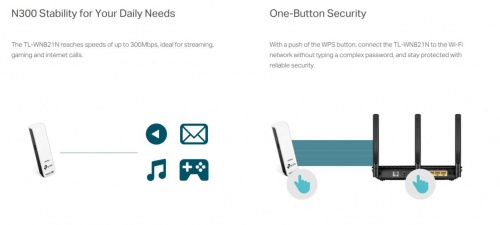
The TL-WN821N WLAN USB Adapter allows you to connect a desktop computer or notebook to a WLAN to access a high-speed Internet connection. Since it complies with the IEEE802.11n standard, it offers a WLAN speed of up to 300Mbps, which is sufficient for online gaming or even HD video streaming.
Highlights
Features
- The excellent speed brings you the best experience for HD video streaming or Internet telephony
MIMOwith better signal penetration, wider WLAN coverage, for better performance and stability
(multi-input/multi-output antennas), it shows further outstanding capabilities in low-loss transmission over long distances and in transmitting through obstacles in a small office or large apartment, even in a reinforced concrete building.
Most importantly, with it you can easily connect to the WLAN over long distances in places where this is not possible with conventional 11g products.- Simple WLAN security encryption by pressing the QSS button
- Supports Windows® XP, Vista, 7,8 and 10
- Speed: Fast Wi-Fi - Up to 300Mbps Wi-Fi speed for joyful surfing experince
- Ease of Use: Backwards Compatibility - Supports routers utilizing 802.11 b/g/n Wi-Fi standards
- Security:
➤ Active Defense - WPA/WPA2 encryption provides your Wi-Fi network with advanced protection against security threats
➤ WPS Button - Easy wireless security encryption at a push of the WPS button
Specifications
Wireless
- Wireless Standard: IEEE 802.11b/g/n 2.4GHz
- Frequency: 2.4GHz
- Wireless Mode: Ad-Hoc / Infrastructure Mode
- Wireless Security: WEP, WPA/WPA2, WPA-PSK/WPA2-PSK
IEE 802.11b/g/n: The "Institute of Electrical and Electronics Engineers" published the uniform WLAN standard 802.11 b/g/n in February 1980.
- Therefore the number 802 stands for the year 1980 and the month of February, which is the second month of the year.
- The letters follow behind it. These describe the respective frequency band and the speed of data transmission.
- The letters all stand for a different transmission speed. For example, the "b" represents a
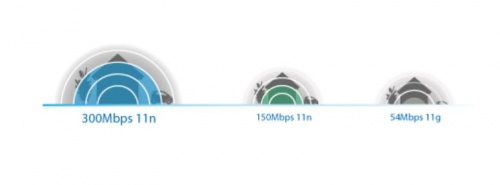
2.4 GHzband with a transmission speed of up to 11 Mbit per second.
- The letter
"g"also represents a2.4 GHzfrequency band with a transmission speed of up to54 Mbit/s.
- In contrast, the
"n"represents a2.4 and 5 GHzband with a transmission speed of up to600 Mbit/s.
- The highest transmission rate is offered by "ac" with up to
1.3 Gbit/son a5 GHzfrequency band.
- However, these specifications are not binding, but depend on the respective conditions.
Hardware
- Interface: USB 2.0
- LED: Status (internal)
- Button: WPS
- Dimensions: 2.7 × 0.8 × 0.4 in. (69 × 21 × 9.5 mm)
LED Status
Info: You can check the adapter’s working status by following the lower points.
1. Off: The driver has not been installed.[The adapter’s radio has been disabled.]
2. Flashing Slowly: The driver has been installed but no data is being transmitted or received.
3. Flashing Quickly: Data is being transmitted or received.
1. Remove and reinstall the adapter.
2. Reinstall the software, if necessary.Preparations
Connect to a Computer
This step introduces how to connect the adapter to your computer.
➤ Before you start using the adapter, insert the adapter into a USB port on your
computer directly
[Note: This is shown on the left side in the figure below] or connect the adapter to your computer using the USB extension
cable provided
[Note: This is shown on the right side in the figure below].
Windows
This documentation introduces how to install your adapter’s driver and WPS Tool, use your adapter to join a wireless network, and uninstall your adapter in a Windows system. The adapter is equipped with a Setup Wizard, which can guide you through the installation process.
Step 1: Install Driver and WPS Tool
1. Insert the resource CD into your CD drive and run the Autorun.exe from the pop-up Autoplay window.
1. You can also download the driver from the product’s Support page at https://www.tp-link.com
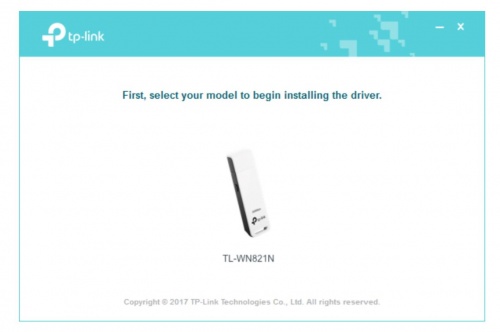
2. In some operating systems, the CD screen will pop up automatically. Otherwise, run the CD manually.2. Select TL-WN821N and follow the instructions to complete the installation.
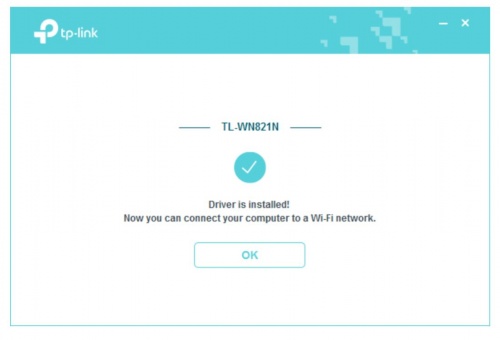
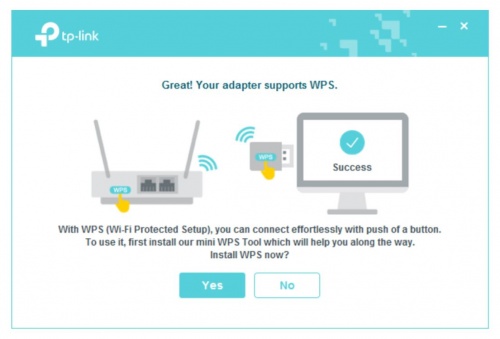
3. When the following screen appears, the driver has been installed successfully.
4. If you want to connect effortlessly with the push of a WPS button, click Yes and follow the instructions to install the mini WPS Tool.
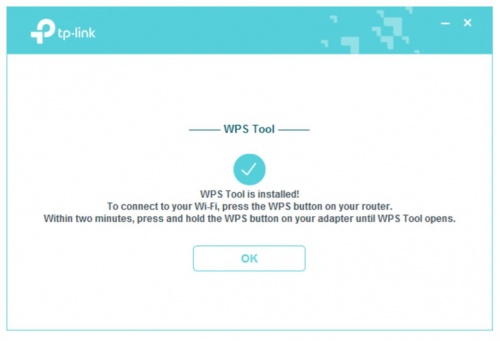
5. When the following screen appears, the WPS Tool has been installed successfully.
You can enjoy connecting to your Wi-Fi with the push of the WPS button.
Step 2: Join a Wireless Network
➤ Option 1: Via Windows Built-in Wireless Utility
You can join a wireless network via Windows built-in wireless utility. Follow the instructions below to use your computer system’s built-in wireless utility:
1. Click Network icon on the taskbar. Select the Wi-Fi network you want to join, and click Connect. Enter the network password when prompted.
2. When the network icon changes it indicates a successful network connection.
➤ Option 2: Via WPS Tool
If you have installed WPS Tool, follow the instructions below to connect effortlessly with the WPS button.
