Difference between revisions of "CSRF - Practical example using Burp Suite and portswigger.net"
MPalfinger (talk | contribs) |
MPalfinger (talk | contribs) |
||
| Line 90: | Line 90: | ||
[[file:burpStart2.png | 600px]] | [[file:burpStart2.png | 600px]] | ||
=== Burp Suite itself === | |||
After clicking on "Start Burp" in the previous Window Burp Suite will start. As the Software provides a huge pile of possibilities this article will only focus on the relevant parts which are needed for the following labs. If you want to lern more about Burp Suite and all of its ways to work with it you can find a good tutorial section [https://portswigger.net/burp/documentation/desktop/testing-workflow here]. Also this article will use the integrated Web Browser of Burp Suite therefore no configuration of proxy's are going to be done. If you want to use your normal Web browser while accessing the labs you can find an artcle with all the information needed [https://wiki.elvis.science/index.php?title=Practical_CSRF_example_using_Burp_Suite here]. | |||
Burp Suite always starts with the Dashboard. But as highlighted in the picture the to menu points "Proxy" and "Repeater" are those which we will use mainly. | |||
[[file: burpTopMenu.png | 600 px]] | |||
== Courses == | == Courses == | ||
Revision as of 12:06, 20 December 2023
Summary
This article describes how the Labs of portswigger.net can be used to show how a CSRF attack is done. In contrary to other articles these labs don't need further installation of software except of the Burp Suite Tool. By using the labs on portswigger.net also different difficulties can be tried and therefore the usage of different defence methods against CSRF can be experienced practically. By showing how two of the labs can be solved this article also describes how the reconnaissance of a web application in order to find CSRF Vulnerabilities can be done.
Requirements
- Software: Burp Suite Community Edition/ Professional
In order to run Burp Suite you need to fullfill the following requirements:
- CPU Cores/Memory:
- Minimum: 2x cores, 4GB RAM - This spec is suitable for basic tasks such as proxying web traffic and simple Intruder attacks. While Burp Suite may run on a machine with a lower specification than this, we do not recommend doing so for performance reasons.
- Recommended: 2x cores, 16GB RAM - This is a good general-purpose spec.
- Advanced: 4x cores, 32GB RAM - This spec is suitable for more intensive tasks, such as complex Intruder attacks or large automated scans.
- Free Disk Space:
- Basic installation: 1GB
- Per project file: 2GB
- Operating system:
- Windows (Intel 64-bit)
- Linux (Intel and ARM 64-bit)
- OS X (Intel 64-bit and Apple M1)
In order to install Burp Suite, you find a guide on their webpage Installation of Burp Suite.
The following link Getting Started provides in general useful information about Burp Suite, How to use it and Tutorials.
How to get to the labs
Login
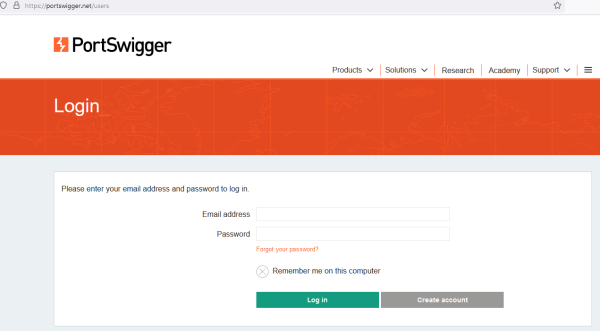
The labs can be accessed after the user is logged in. Therefore a account must be made which can be done here. After the user created an account and is logged in the labs ob portswigger.net are accessible.
Find the lab
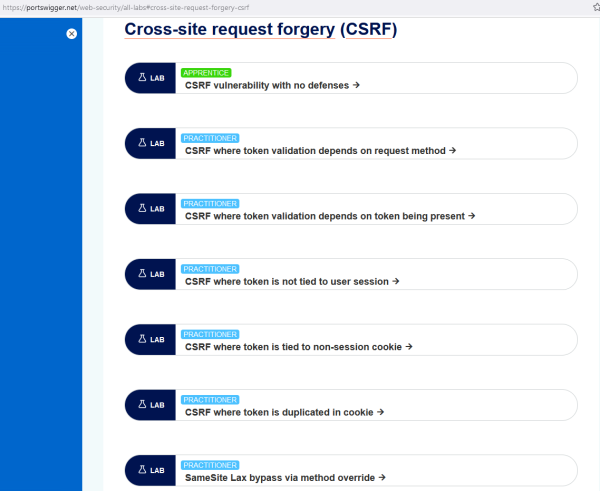
As the lab portion of portswigger.net is very high it is quite a task to find the right labs. As this article is about CSRF we are looking for th labs related to this topic. To avoid a long time searching them you can find them here. This page provides a listing of all available labs but is already focused on the CSRF part.
How the labs work
General Overview
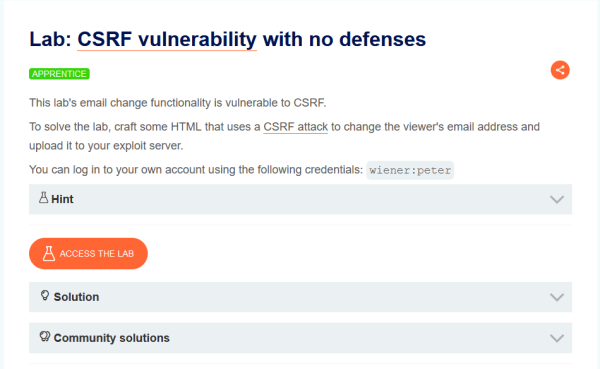
As visible in the picture below the labs are basically structured in the same way. Ont top you find the name of the lab and just below is the description. There are three drop-down menus:
- Hint: The hint provides some additional information how the lab can be solved
- Solution: portswigger.net provides a text based solution of the lab.
- Community Solutions: Here are additional solutions crafted by the community listed.
To start the lab just click on the orange "Access the lab" button.
The lab itself
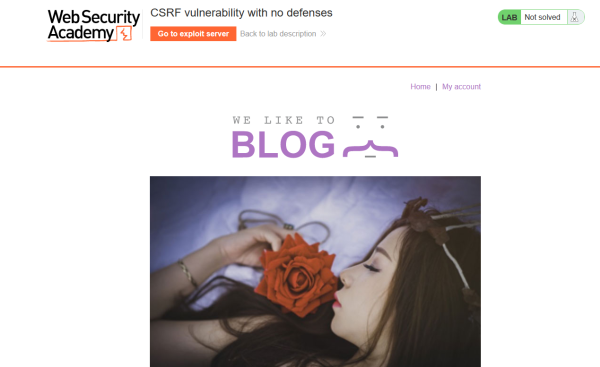
After clicking the "Access the lab" button it takes some time for the lab to set up. As soon as the lab is set up you start on the page of a blog. As visible in the picture below you have several options what to do. On top of the page is the orange "Go to exploit server" button. With this button you switch to the (imaginary) exploit server of the attacker. The "Go back to lab description" button leads you back to the previous page. On the left site is a typical "Home" button which will lead you to the site you are actually.
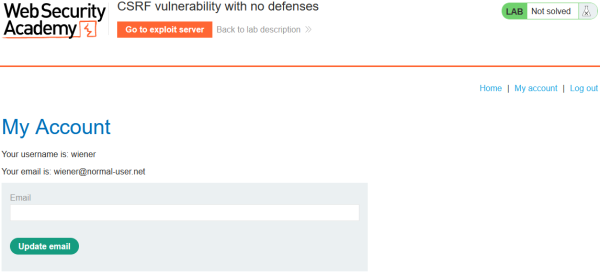
Beside the "Home" Button is the Login Button "My account". If you click here you will be sent to the login page where you can use the credentials provided in the lab instruction. In our case this is the user "wiener" with the password "peter". As visible this should represent a common web application. After logging in you have the possibility to change the email address.
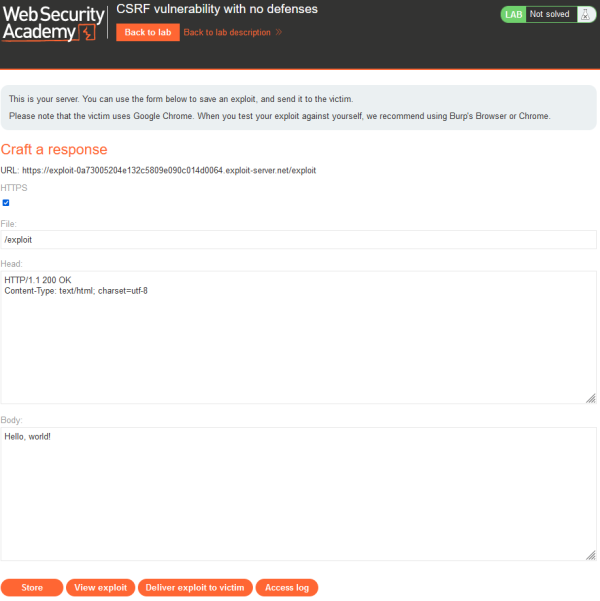
If you click the "Go to exploit server" you change to the imaginary server of the attacker where the malicious web page with the CSRF exploit is running. For the labs that are discussed in this article mainly the body part is important as we will implement our malicious code here. At the bottom are Several Buttons:
- Store: With this button the code we enter above is saved.
- View Exploit: Here you can see how the exploit is working.
- Deliver Exploit to victim: With this button a delivery of the malicious link to the victim is simulated. If the exploit works with a script the interaction of the victim is also simulated.
- Access Log: As the name says here you can see who accessed the exploit server.
Burp Suite
After you started the lab you want to work out the next step is to start Burp Suite. This section will provide the most important information how to work with Burp Suite during the CSRF labs. While in the Screenshots a professional Version of Burp Suite is shown, this guide provides the information how to work with the Community Edition.
Configurations at the start
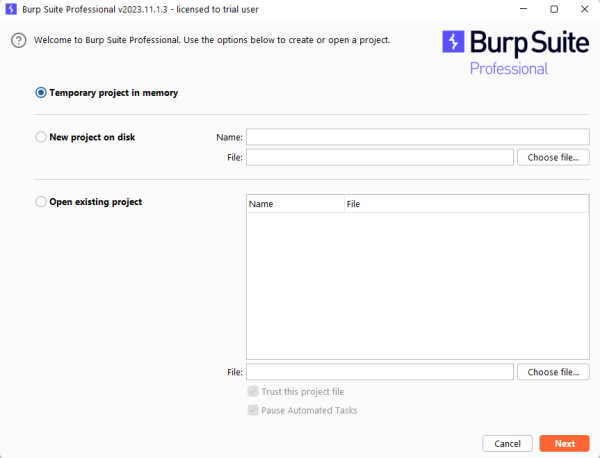
The first window of Burp SUite asks what kind of project you want to start. With the Community Edition only temporary projects are possible.
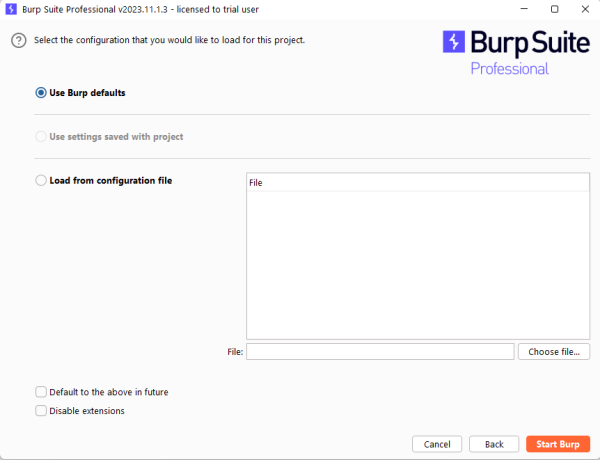
Also the choices of the next page are limited to the use of Burp Default.
Burp Suite itself
After clicking on "Start Burp" in the previous Window Burp Suite will start. As the Software provides a huge pile of possibilities this article will only focus on the relevant parts which are needed for the following labs. If you want to lern more about Burp Suite and all of its ways to work with it you can find a good tutorial section here. Also this article will use the integrated Web Browser of Burp Suite therefore no configuration of proxy's are going to be done. If you want to use your normal Web browser while accessing the labs you can find an artcle with all the information needed here.
Burp Suite always starts with the Dashboard. But as highlighted in the picture the to menu points "Proxy" and "Repeater" are those which we will use mainly.
Courses
- A course where this documentation was used (2017, 2018)
- Another one (2018)
