USB Hacking
Introduction
USB attacks have become a significant threat to cyber security. To address this, various tools have been developed to aid in penetration testing and security assessments. The USBNinja cable and OMG cable are two such tools that allow for the execution of payloads when connected to a target device by mimicking a Human Interface Device (HID) such as a keyboard or mouse. These tools can be programmed using the Arduino Integrated Development Environment (IDE) which is user-friendly and straightforward. To prevent USB attacks, a combination of preventive measures such as the Malicious Cable Detector, HID protection approaches through software or hardware, and awareness training is recommended.
O.MG Cable
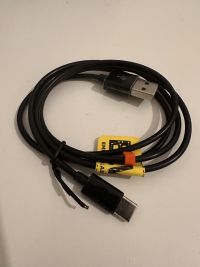
The O.MG Cable is a hacking tool made by the organisation "Hak.5". It has the ability to send DuckyScript Payloads to the connected device. These Payloads are sent over a WiFi Connection. Additionally, there is a feature that enables the Payloads to be executed, whenever the cable is plugged into a device. The O.MG Cable simulates keyboard and mouse inputs.
O.MG Cable Setup
Step 1
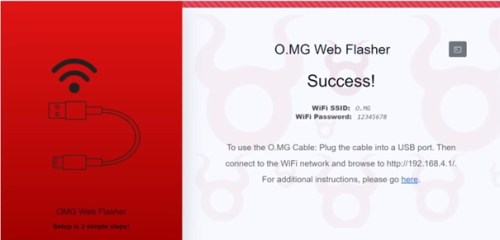
You need to flash the cable through the provided Web Flasher, using the OMG Cable Programmer
Step 2
With the provided information from the first step, you can connect to the WiFi Signal it sends out. With the name O.MG, and the Password "12345678"
Step 3
Now you can connect to the DuckyScript interface with the provided address "192.168.4.1". There you can write the DuckyScript Payloads
USBNinja Cable
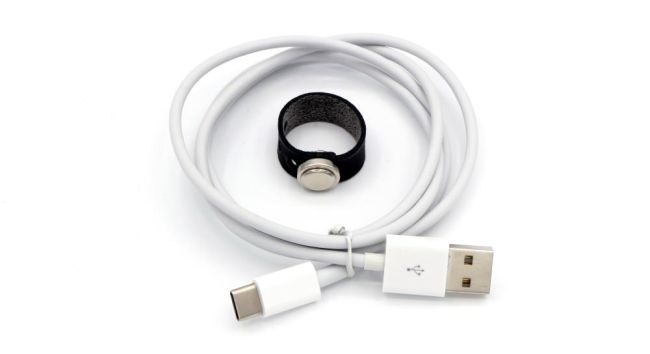
The USBNinja cable is a information security and penetration testing tool that allows the execution of payloads when the USB cable is connected by pretending to be a HID device such as a keyboard or mouse. Programming the cable is done through the Arduino IDE, making it a simple and user-friendly method for using USB Ninja.
USBNinja Cable Setup
Step 1
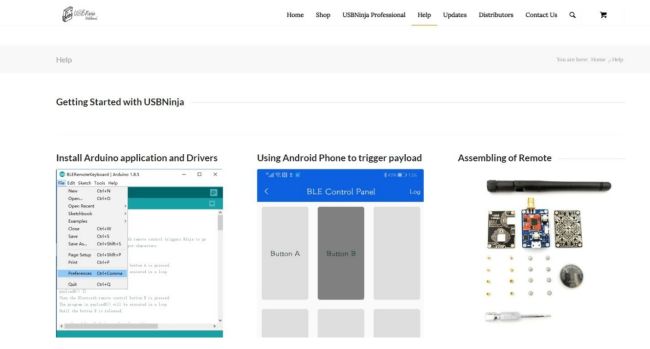
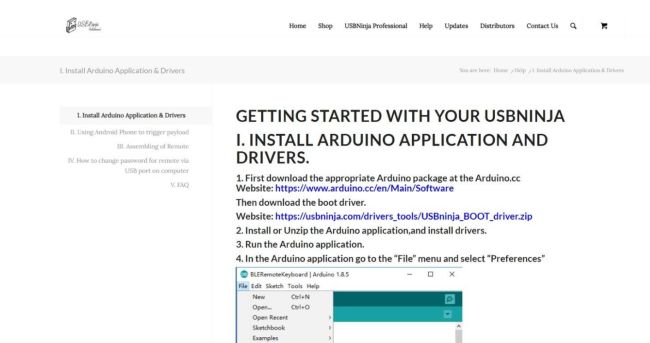
To start with the USB NINJA cable, it is necessary to first access the official website at https://usbninja.com/help/
Step 2
Then, it is essential to strictly follow the steps described on the USBNinja website
Step 3
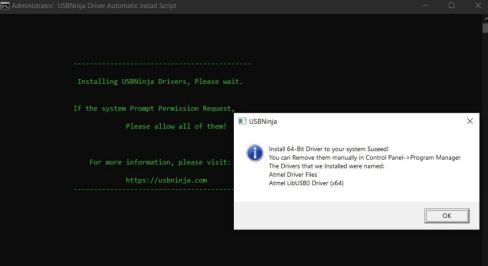
After downloading the required boot driver and the Arduino IDE, it is imperative to run both as administrator to avoid future conflicts and then proceed with the installation
Step 4
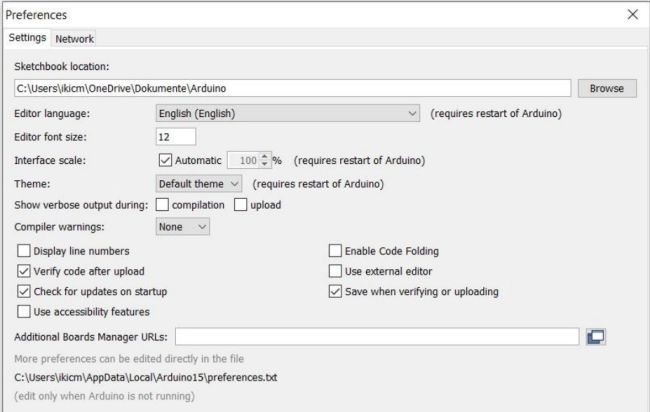
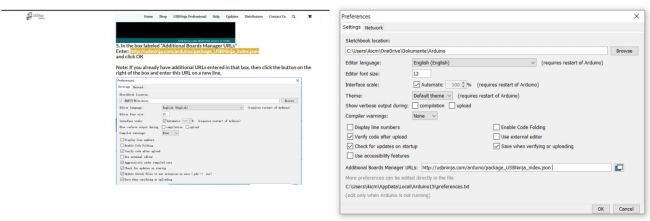
Next, in the Arduino IDE, go to "Preferences" and add the required link
Step 5
The URL for downloading the required JSON file can be easily found on the USB Ninja website. The link simply specifies the location for the download.
Step 6
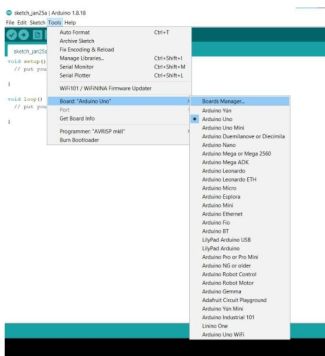
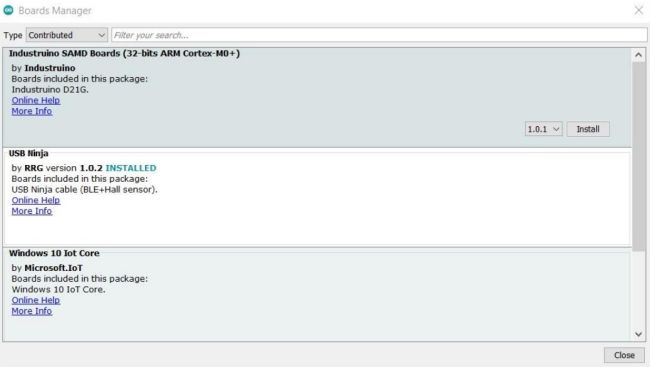
Next, we will open the Board Manager within the Arduino IDE and download the required board for the NINJA cable
Step 7
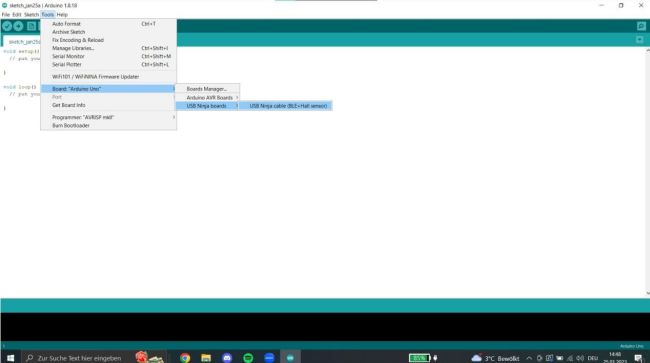
Finally, we simply select the previously downloaded board for the NINJA cable
Demonstration
To successfully deploy a payload. You need to write a DuckyScript or use the provided examples on the website. After writing a correct DuckyScript you can either save it in a slot to load it at another time, save it to "Boot" so it launches whenever it is connected to a device, or run it. "Run" sends the payload over the WiFi signal to the connected device, and executes it. The following picture is an example for a DuckyScript Payload that opens "Firefox" and types in "Youtube.com".
Scenario
Imagine a hypothetical scenario: Our USB NINJA cable could pose potential dangers. Suppose someone is at an airport and wants to charge their laptop or smartphone. They find a public charging station with USB ports as well as accessible USB cables that can be connected to their laptop. Without thinking, the person connects the charging cable. As soon as the NINJA cable is connected, a threatening message appears on the screen, manipulating the user and causing them to follow the attacker's instructions. This is a typical attack through social engineering.
Differences between the 2 cables
| OMG Cable | NinjaUSB |
|---|---|
| DuckyScript Payloads | Arduino IDE |
| Always simulates keyboard and mouse | Simulates either keyboard or mouse |
| Payloads are sent over a WiFi connection or when connecting the cable | Payloads are sent when connecting the cable, in a loop or with a remote |
| Does not need to be flashed when the payload changes | Needs to be flashed whenever the payload changes |
Preventive measures
Preventive measures against malicious USB cables include the use of a Malicious Cable Detector. This device prevents data transfer through the USB cable while still allowing for charging. The LED on the detector lights up red when data transfer is blocked. There are also two approaches for protecting against HID (Human Interface Device) attacks, a software approach and a hardware approach. The software approach records keyboard activity through software and the hardware approach uses a separate device to record keyboard activity. Awareness training is also an important aspect of protecting against malicious USB cables and HID attacks.
